When you have a burst of confidence (or total insanity) you do impulsive things. Or at least I do. After my birthday rolled around I had some bookstore gift cards. I ordered a miniatures book to inspire me to make some furniture.
I like to make things, besides crafting. Refinishing and building things in real life is very relaxing for me even if I bitch and moan about it as I work my way through the project. Also, I have a nice work space in my furnace room and lots of tools and stuff.
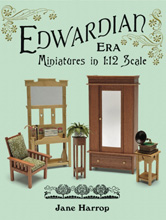
Insert Jane Harrop's Edwardian Era Miniatures In 1/12 Scale. The style wasn't what I was going for, I just needed to know how to go about building something this small. Or rather, feel that actually could, even if I knew I could likely pull it off.
My own home is a jumble of styles all brought together through colour (or lack of colour) and repeating themes. That said, as I looked for furniture styles to inspire the dresser, I was drawn to a more modern handle, but wanted to add traditional baseboard trim and "marble" tops.
 |
| chelseatextiles.com |
The dresser inspiration came from Chelsea Textiles mid century modern dresser. It is described as, "inspired by 1950s designer Robsjohn-Gibblings, this chest of drawers features wicker wrapped handles with brass trim on brass legs. Hand made and hand painted."
I had this "Deep Sea Blue" craft paint from Martha Stewart that I loved, and blue and brass are good friends! So, I found the gold paint and proceeded.
Cut Twice and AGHHHHH!
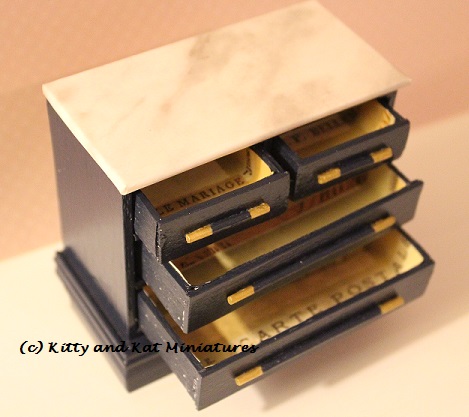
Words fail to capture my annoyance with putting the dresser together. I used the millimeter measurements provided and cut everything perfectly. Double checked before and after I cut. So then why when I went to glue it together did nothing quite fit? Not entirely sure. Inches were the first measurement provided in the book, but its from the UK so I figure the millimeters would be accurate too. Oh well. Lets just say much pulling apart and trimming occurred. And along came the drawers. The shaving of wood, the bloody fingers, even after the first coat of paint, the wood expanded enough I had to shave again. I shaved these drawers more then I shave my legs!
Working Through The Anguish
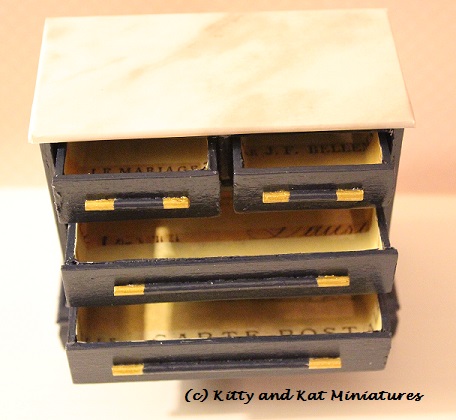
The dresser got 2, and in some places 3, coats of paint. The drawers were lined with scrapbooking paper. Possibly the easiest part of the project!
The pulls are tiny wood dowels (Elmers brand, in the kiddy craft section at few and far between Walmarts). They were glued with No More Nails adhesive. Rock @#*$% solid. Believe me, when those drawers were jammed and I couldn't get the craft knife in to pry them open, I took a deep breath and pulled and the handle stayed on!!!!
Instead of doing legs, I glued trimmed down wood blocks to the bottom and trimmed the dresser with baseboard trim. I didn't want a spot for dust and toddler snacks to slip under.
The Finish
2 coats of Rustoleum satin clear coat went on all wood surfaces. I also used my trusty tea light wax to rub all the drawer sides and bottoms. This really helped prevent sticking. So, if you see weird white blotches on the drawers in the pictures, its the wax, not a poor paint job.
The Marble Tops
Oh Dollarama, you never ever fail me and my cheapness. The marble top is marble printed drawer liner. Nowhere else could I find a nicer marble substitute short of painting it myself.
Only use wood glue or white glue under this cheap thin contact paper. I tried Quick Grip when I experimented with the kitchen counted. The paper shriveled and melted. I liked the Elmers wood glue with the paper. A thin coat resulted in no issues and good adhesion.
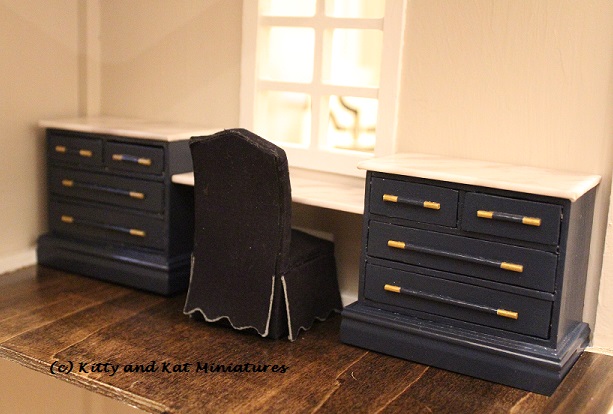
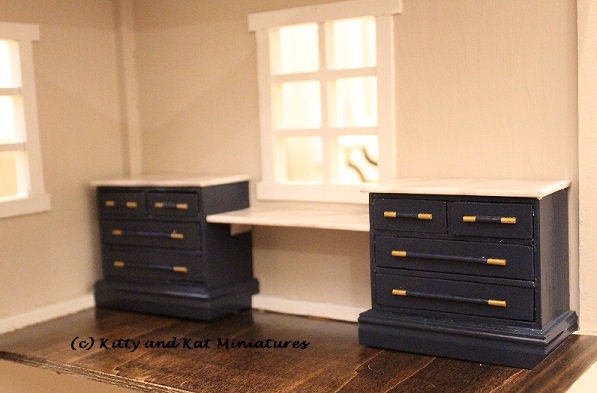
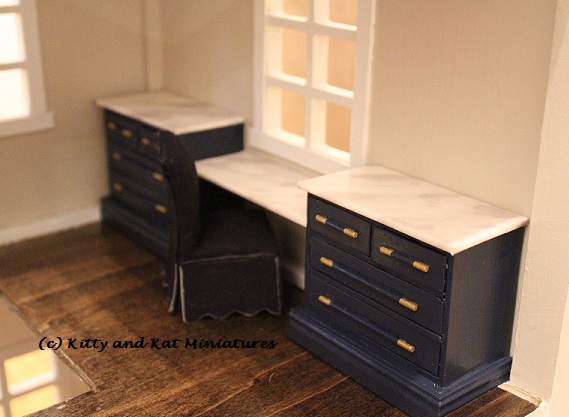
The desk "slab" was glued direct to the dressers and wall, but I have a support underneath the wall end and 2 short supports on the dresser sides. All the supports were wrapped with marble paper too. I glued the desk in place with No More Nails.
There you have it! Everything took about 2 weeks of sporadic evenings and Miss Kitty's naps. I cemented the whole thing in place with No More Nails. It isn't going anywhere!
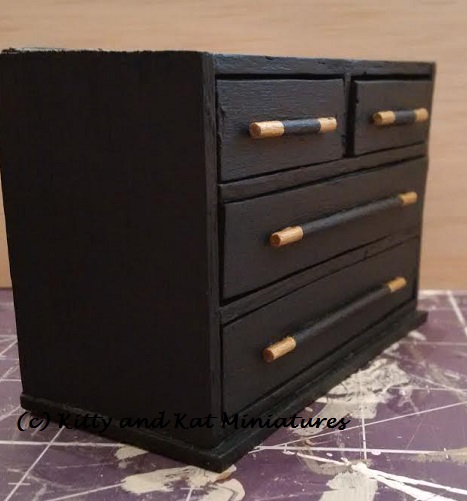 |
| No top or base added |

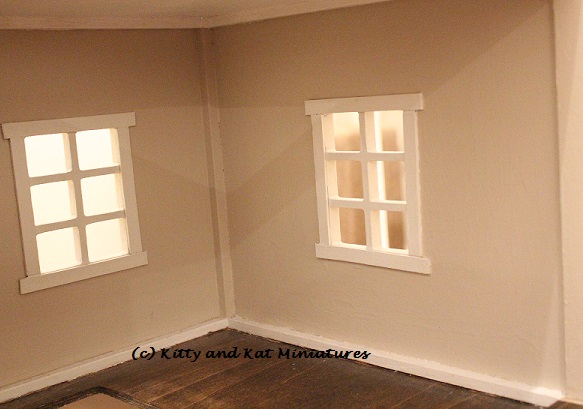 |
| The empty room |
 |
| One of my dining room chairs worked perfectly for the photo shoot |