


The Mid Century Build

This post has a lot of pictures, so you'll just need to keep scrolling down for more!
Exterior
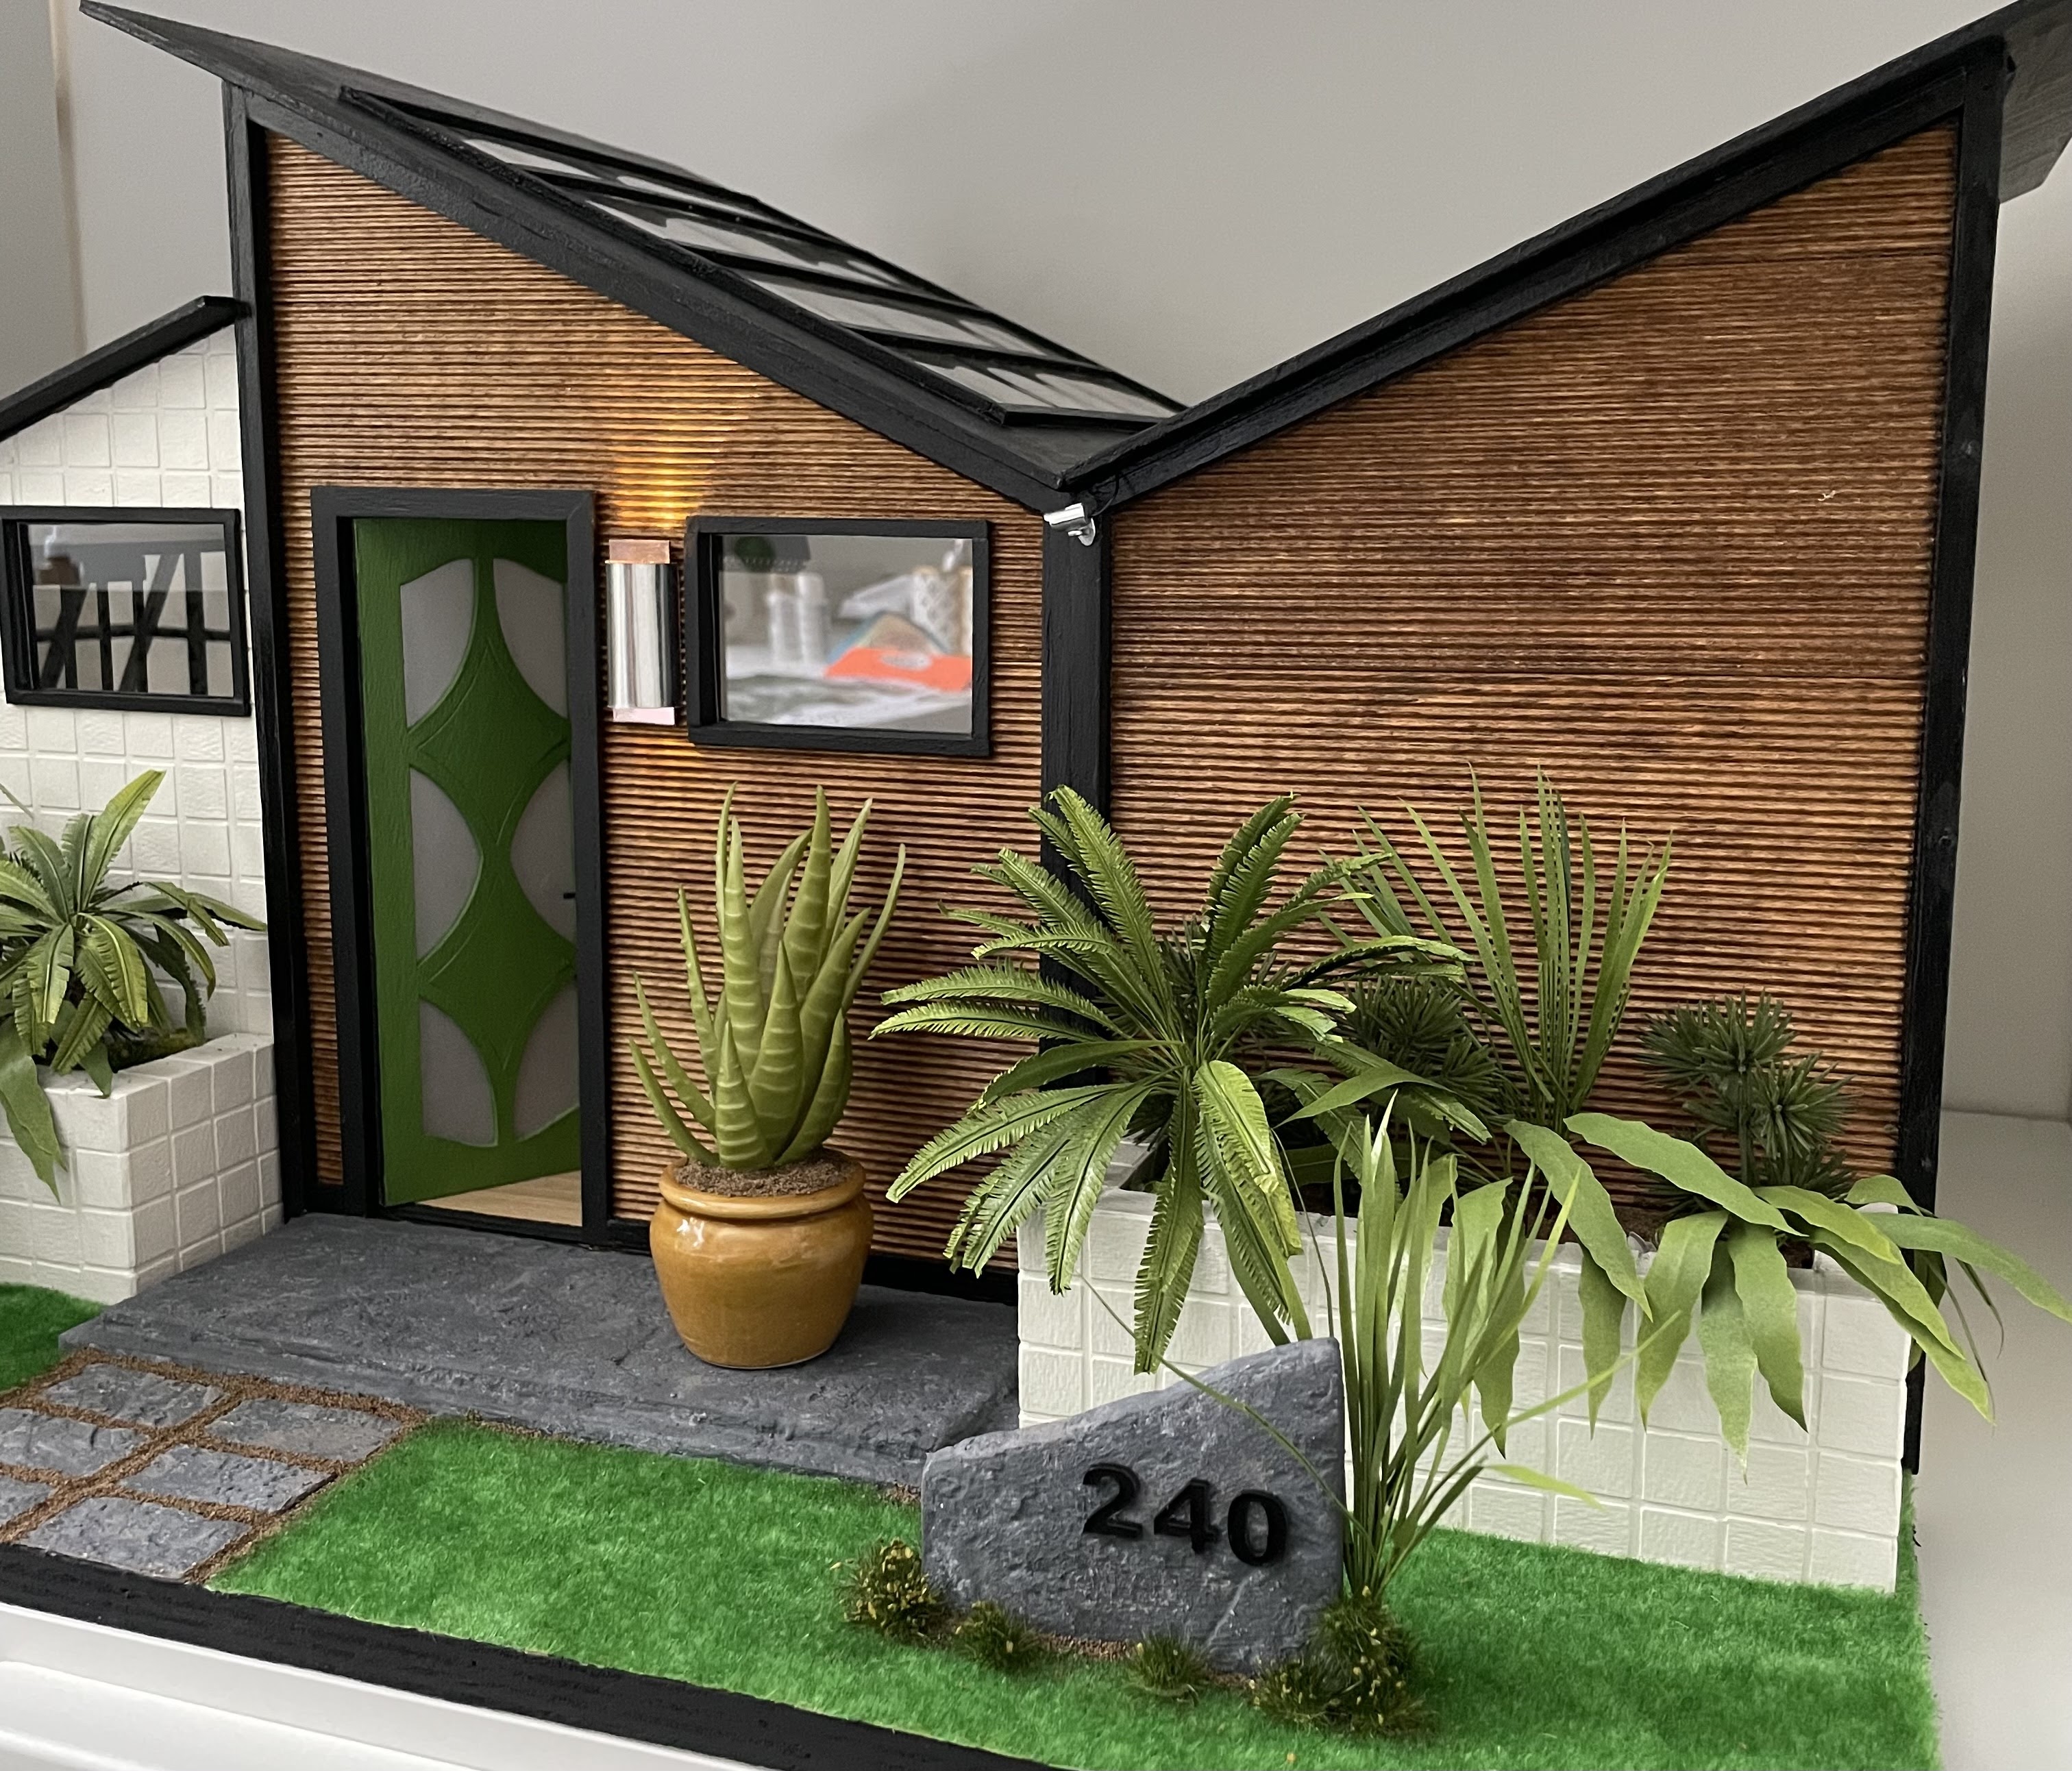
The base of the kit is the Greenleaf 2012 Spring Fling contest build. I bought it long after the contest when it was on sale. It was a bit small, so I added the bathroom wing. Then I took the greenhouse and flipped it on its side to create a sunken living room.

The exterior was "bricked" using artist oil paint paper and a square paper punch. The wood siding came from a model train store. It was the same wood I used as the kitchen backsplash in my Ikea room box.


I made a wall sconce because I couldn't find any modern exterior lighting. It's a piece of aluminum curved and attached to a piece of smoke mirrored plastic. I fed an LED inside to light it and hid the battery pack in the planter.

Interior
First stop....the bathroom! This was the first interior space I finished. It was so tedious to cut the acrylic and fit the shower. But don't get me started on how I made it extra hard to get your hand/tweezers inside the shower to style it!
I used 3D printed minis from the Shapeways stores of Marion Russek and Paper Doll Miniatures.
For the shower I used acrylic sheets and trimmed them with fine plastic channel from the model railway store. From the same store I also purchased the brick/tile paper for the walls.
The vanity was handmade. After I constructed the frame I covered all the wood with a pretty veneer. Another "what was I thinking" project. The counter top was a piece of sample tile which I didn't even need to trim.
I also ended up making the wall sconces using very thin veneer and brass rod. The LED lights inside are wired through the wall and into the kitchen.
FUN FACT! Thin acrylic mirror sheets don't like clear instant grip glues. It can distort the mirror. Which I discovered after it was up! Nothing too noticeable, but next time I'll use tacky glue.


The Living Space
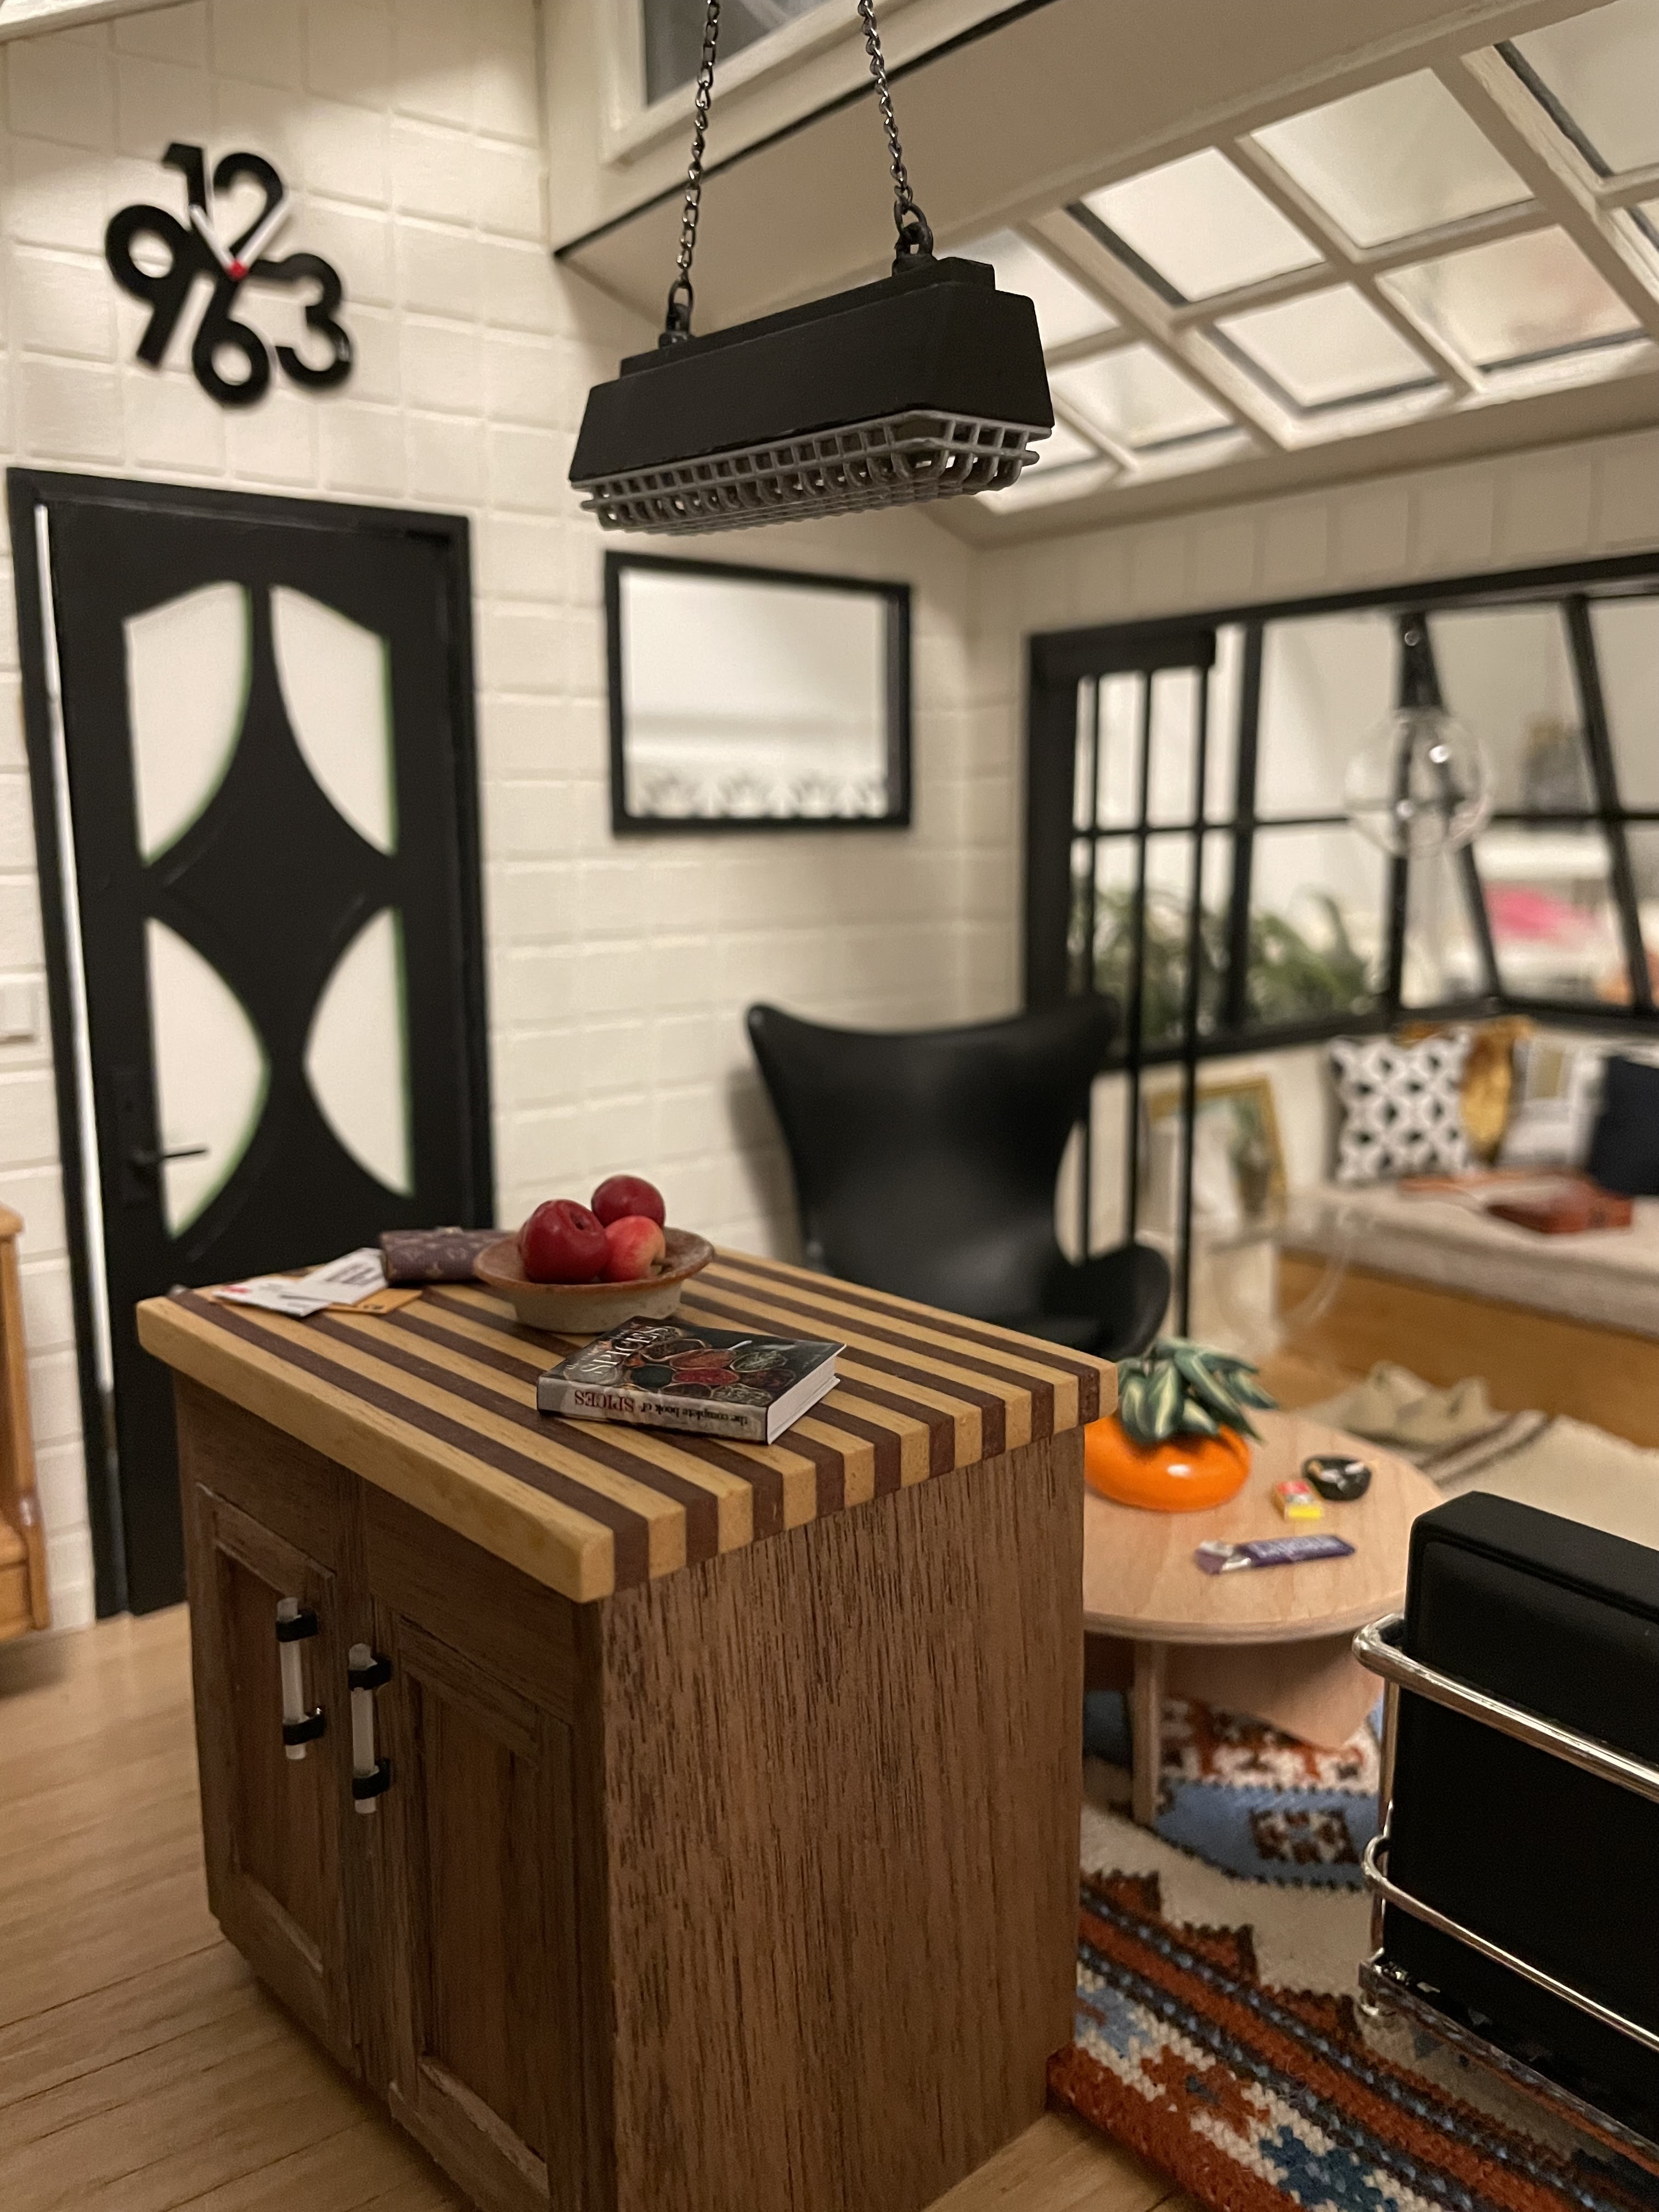
The Kitchen
I really wanted to challenge myself with this kitchen. And I did! The backsplash was an aluminum sheet (they scratch really easy!). To it, I mounted my floating shelves made of balsa and then veneered. I didn't want to see the LED lights underneath, so I added a piece of frosted acrylic plastic.
The cabinets were the same story! Build from simple wood frames, I veneered them and left spaces for the ELF appliance kits I made. The island is made from the Houseworks island kit, again veneered. But this veneer was trickier as I had to glue, veneer and trim into the recessed panels on the cabinets. I used so many knife blades!


The Living Area


The Bedroom
I stitched all the pillows and didn't want to make any after that for a long time! The rug was hand made from Tremeers Treasures If you can, check out this husband and wife duos work. They're a sweet elderly couple that love making minis and produce beautiful items.


There you have it friends! A miniature project that was actually completed on time....and by that I mean, completed in under 5 years.
Hugs!
Kat


